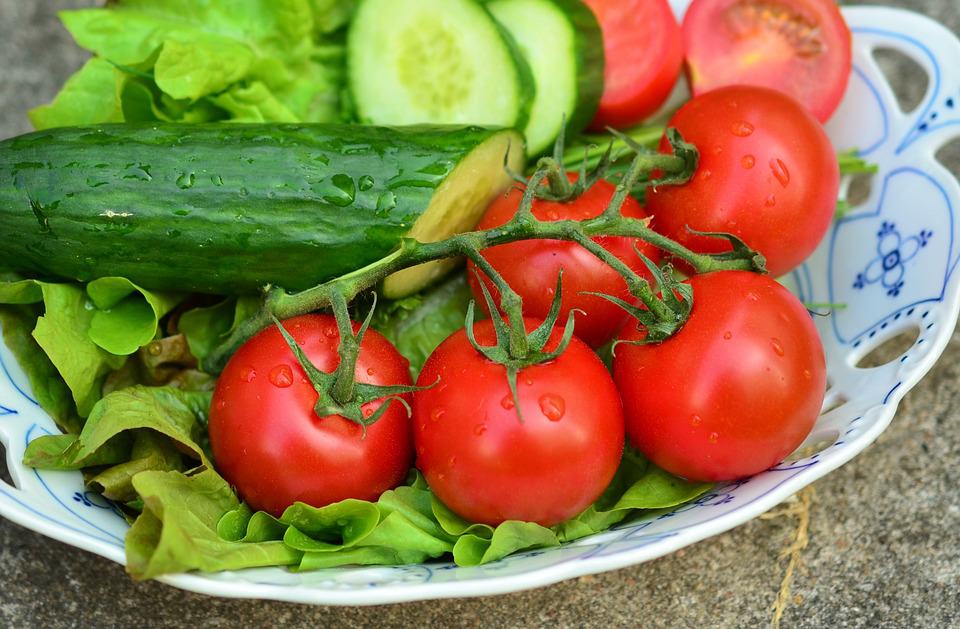
You want to be as successful planting vegetables as your idol, feeding the world, saving big and even getting paid to do so.
But you know you haven’t got a chance of seeing that kind of success unless you can truly plant your vegetables and care for them over the long haul.
Of course, the big question is how?
Planting vegetables for beginners is elusive
Sure, you get the occasional sprouts, a handful of produce, but it’s not like even your family members are raving about your garden, or even caring about what you do.
You worry that this hobby is not worth your time, that you might not produce anything to feed your family and save more, that you might not get even a single dime from growing your vegetables, that you are just wasting your hard earned cash, but you’ll be damned if you can figure out the magic formula.
And the truth is unless you can find a way to successfully plant your vegetables, your vegetable garden is doomed to failure.
So, to help you figure out the magic formula, let’s look at these steps to planting vegetables for beginners that refuse to fail.
Land preparation.
Soil Testing
Well, the first step in the process of planting vegetables successfully is to test your soil. You want to make sure that you have the right kind of soil.
Take the soil samples randomly across the whole yard and send it to the nearest reputable soil testing lab for nutrient analysis. Alternatively, you can purchase a soil testing kit to test the soil yourself if you are a ‘Do it yourself’ freak like me.
Amending the soil
Once you receive a report or have the results on the status and health of your garden soil, it is time to correct your soil accordingly. Use soil conditioners, organic manure, and the necessary nutrient additives.
Tilling your garden
Till your garden using appropriate tools and equipment. Remember to do this only if necessary. If you plan to practice organic gardening, it’s always a good idea to practice as minimum tillage as possible.
Fencing
Any successful garden will surely attract uninvited guests such as dogs, goats, and other animals. To avoid this being a problem, ensure that your vegetable garden is well fenced.
Not unless they are the beneficiaries of your vegetable garden! Which I highly doubt. You can either choose an electric or non-electric fence to do the job for you thus taking us to the next step.
Planting your vegetables.
At this point, you have the liberty to start your vegetables either from the seed, transplants or cuttings.
Starting from the seed means planting vegetable seeds directly into the garden soil, while transplants are started elsewhere (e.g. in a nursery seed bed) and later planted into the garden.
If you wish to obtain your harvest earlier, then transplants are almost always the best option for you though it is more expensive and some seedlings might not transplant well.
Generally, most vegetables can readily be transplanted with an exception of root crops. For example, beets, radishes, and carrots.
Let’s dive in further so that you can have a practical view of everything.
First things first, though, keep note of the following before starting the seeds;
- Planting space and depth
- Days to germination
- The temperature necessary for germination
- Days to maturity
All this information is important to help you determine when the right time to start your seedlings is. But, where should you find the information if you are just a beginner? In most cases, seed packets contain this information for specific varieties.
Moreover, if the planting depth is not provided which is always the case, the general rule to follow is to place the seed at a depth about three times the diameter of the seed.
However, when deciding to which depth to plant, it is essential to consider the texture of the soil. For example, if your soil is fine-textured or clayish, you should plant the seeds slightly shallower. On the other hand, if it’s course or sandy, consider planting slightly deeper.
I will also provide you with more specific information in regards to planting space, depth, days to germination, temperature and days to maturity for most common vegetables.
Download the free SPREADSHEET for common seeding recommendations.
Now that the nitty-grittiest are out of the way, I can move on to more serious stuff.
Planting vegetables for beginners from seeds (Seeding) step by step
- Rake the garden soil to create a flat surface and to create room for aeration.
- Crumble large clods of the soil to make it fine and smooth. Cloddy soils are the single most reason why seeds often germinate poorly since they don’t hold the moisture.
- Mark out straight rows to make your garden attractive and to permit subsequent operations. To do this, drive two pegs into the ground at each end and tie a string tightly between them.
- Ensure that you use the correct inter-row spacing for each crop.
- Make a furrow along the row (following the string). For smaller seeds, make the furrow shallow using a narrow stick. For deeper furrows, use the corner of the hoe blade in the case of big-sized seeds.
- Place your seeds in the row and space them uniformly. Be careful to use the correct planting depth as I explained earlier. It’s also worth mentioning that spacing small seeds is quite hard but not impossible. To aid in spacing consider mixing the seeds with an inert material and then spread. However, it’s still difficult to spread the seeds thinly enough, so you will have to thin out some after germination to the recommended spacing.
- After seeding, cover the soil to the recommended depth and gently firm the soil. Do this by pressing with the hand or tapping using the back of the hoe.
- Lightly water the soil surface until the moisture penetrates to the seed. The general rule is to water frequently in the beginning and then water less often once the plants emerge.
Note: For the seeds to germinate, they require light, warmth, and water.
- Thin out the weaker plants as soon as possible to the desired spacing.
- Give yourself credit for the work well done!
Transplanting
In case, you planted the seeds with an intention to shift them later as transplants, follow these steps. Remember that transplants require a sunny warm area as a general requirement.
- Harden the transplants before relocating them. To harden;
- Reduce watering.
- Partially expose the transplants to the new environment
- Increase the exposure gradually (temporary removing the shade on and off).
- Transplant early morning, evening or on gloomy days to minimize transplanting shock.
- To transplant, first, start by watering the plants thoroughly and soak the media.
- Dig holes large enough so that the transplanted plants sits slightly deeper than it grew in the nursery or container. Remember to add some compost to the hole.
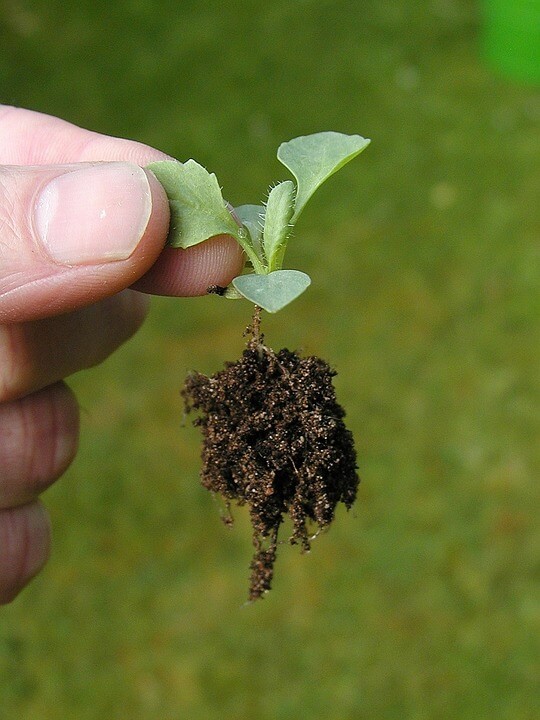
- Carefully remove the plants from their containers or nursery bed (Minimum disturbance to the roots).
- Ensure that you keep a lump of soil around the roots (as illustrated by the image below).
- Set the plant in the hole, cover the roots and firm the soil. Cover the pot rim with soil in case of transplanting peat pots to avoid wicking.
- To get the plants off faster, apply a starter solution immediately after transplanting. Follow mixing directions on the pack of your soluble fertilizer. Be careful not to apply a high concentration that could burn your transplants.
Planting arrangements
I have explained everything you need to know to plant your vegetables. However, there is still one more piece to the puzzle. And it’s not the available space. It’s not even anything you think it is.
It’s planting arrangement.
Planting arrangement is basically how you are going to arrange plants within your garden. Which in most cases, will depend on the type of the crop, the space available and the amount of time you have to dedicate to your garden.
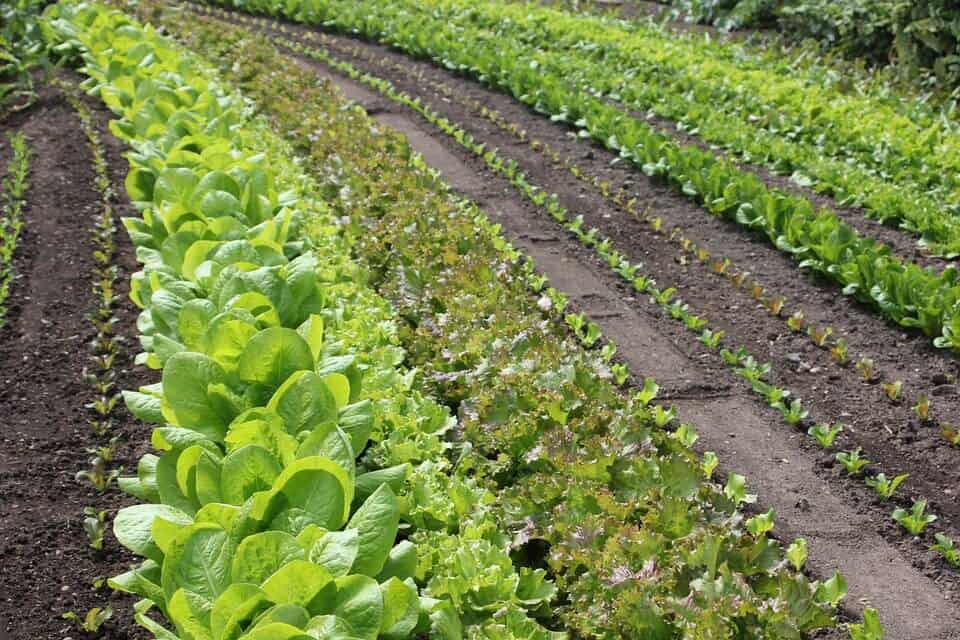
Row planting
The most conventional planting of them all. This planting arrangement entails planting vegetables in a straight line either in furrows or single holes. Planting vegetables in a row utilizes space efficiently.
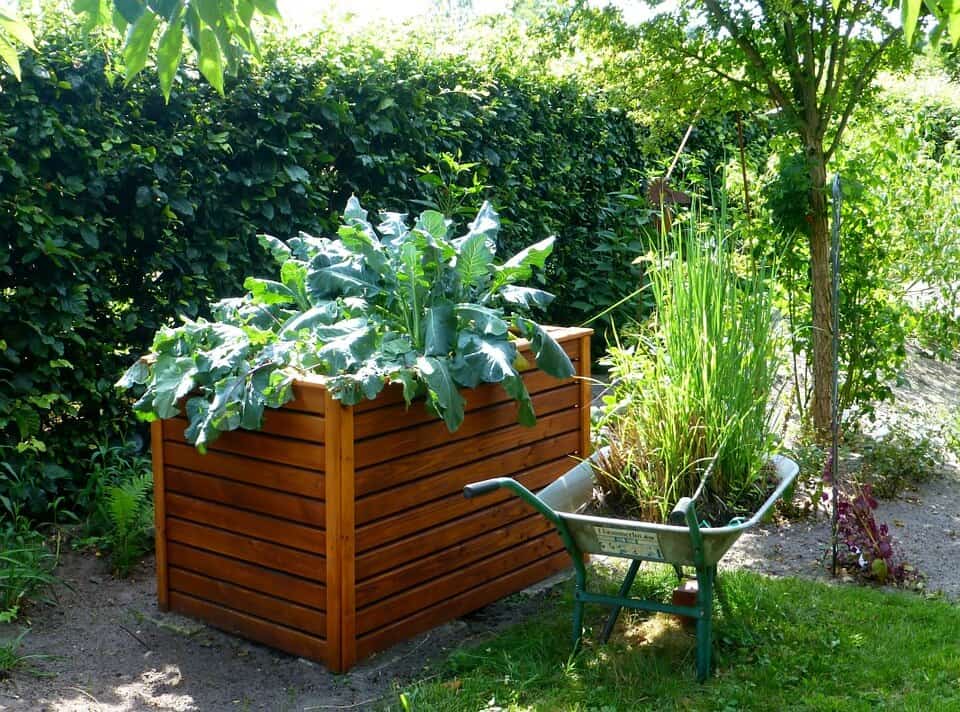
Raised beds
Growing vegetables in raised beds are very necessary especially in areas with high amounts of rainfall that requires proper drainage. Yield per square foot is often more than in row planting. It’s also easy to move around your garden when working with raised beds. What’s more, you save your back a great deal of pain resulting from bending. There are various types of raised beds. Just select one that fits your needs and comfortable to work with. They include;
- Wood-framed raised beds,
- Unframed raised beds, and
- Straw bale raised bed
Isolated beds
In certain areas, the soil might not be suitable for growing high-value vegetables. In such a scenario, trenches are dug and later on filled with foreign soil that is isolated from the indigenous soil. The plants are then grown into foreign soil.
Square foot gardening
This planting arrangement can be used in tandem with raised beds. Its sole objective is to maximize on space. Each different crop is normally planted in a square foot and is suitable for crops that are planted close together. It’s a good technique that can facilitate both crop rotation and companion planting.
Vertical growing
If space is a luxury you can’t afford as is the case with most urban gardeners, then you will appreciate vertical growing. A good example is growing vegetables in hydroponic tower gardens. But in case you’re on a tight budget and would love something more improvised, you can erect vertical structures or poles and hang containers from which plants can be grown. When planting vegetables vertically, just ensure that the plants are shallow rooting and are both low-fast-growing for example strawberries and lettuce.

Container gardening
Not all regions are suitable for planting vegetables. Container gardening is most often the remedy to this problem. It entails planting vegetables in containers ranging from ceramic and terracotta pots to cattle troughs and whiskey barrels. Just make sure to support the plants to avoid containers toppling off when the plants overgrow.
Intercropping
Not all veggies mature at the same time. It’s a good idea to intercrop slow-growing vegetables with fast-growing vegetables to efficiently utilize the space. A good example is intercropping radishes (fast-growing) and carrots or onions (slow-growing) or lettuce (shallow-rooted) and tomatoes (deep-rooted).
Companion planting
Some crops have a synergistic effect on others. That means when intercropped, they benefit other nearby crops. These benefits include fixing nitrogen for example in the case of legumes, pollinator attraction, and push-pull pest management. This beneficial form of intercropping is what we call companion planting. Sounds cool?
Crop rotation
Whatever you do, be sure to practice crop rotation to prevent soil-borne diseases. The most problematic soil borne diseases include verticillium and Phytophthora. According to Washington State University, it’s advisable to follow a 5-7 year rotation if possible, meaning that you don’t plant crops within the same family in the same bed or row for 5-7 years.
Conclusion
Nobody in the world has the power to make all the obstacles disappear, but I have at least helped you see what you might trip over and fail to get the harvest that you deserve.
It doesn’t matter whether you are a green thumb or black thumb. If you follow the steps to planting vegetables for beginners that I have provided in this post, you will never fail again.
You can start by visiting my recommended gardening resources page to get the tools of the trade.
Next Post: Tending to Your Vegetables Efficiently.
Help me spread the word out. Click on your favorite social icon at the left sidebar and share if you think this post is worth sharing.