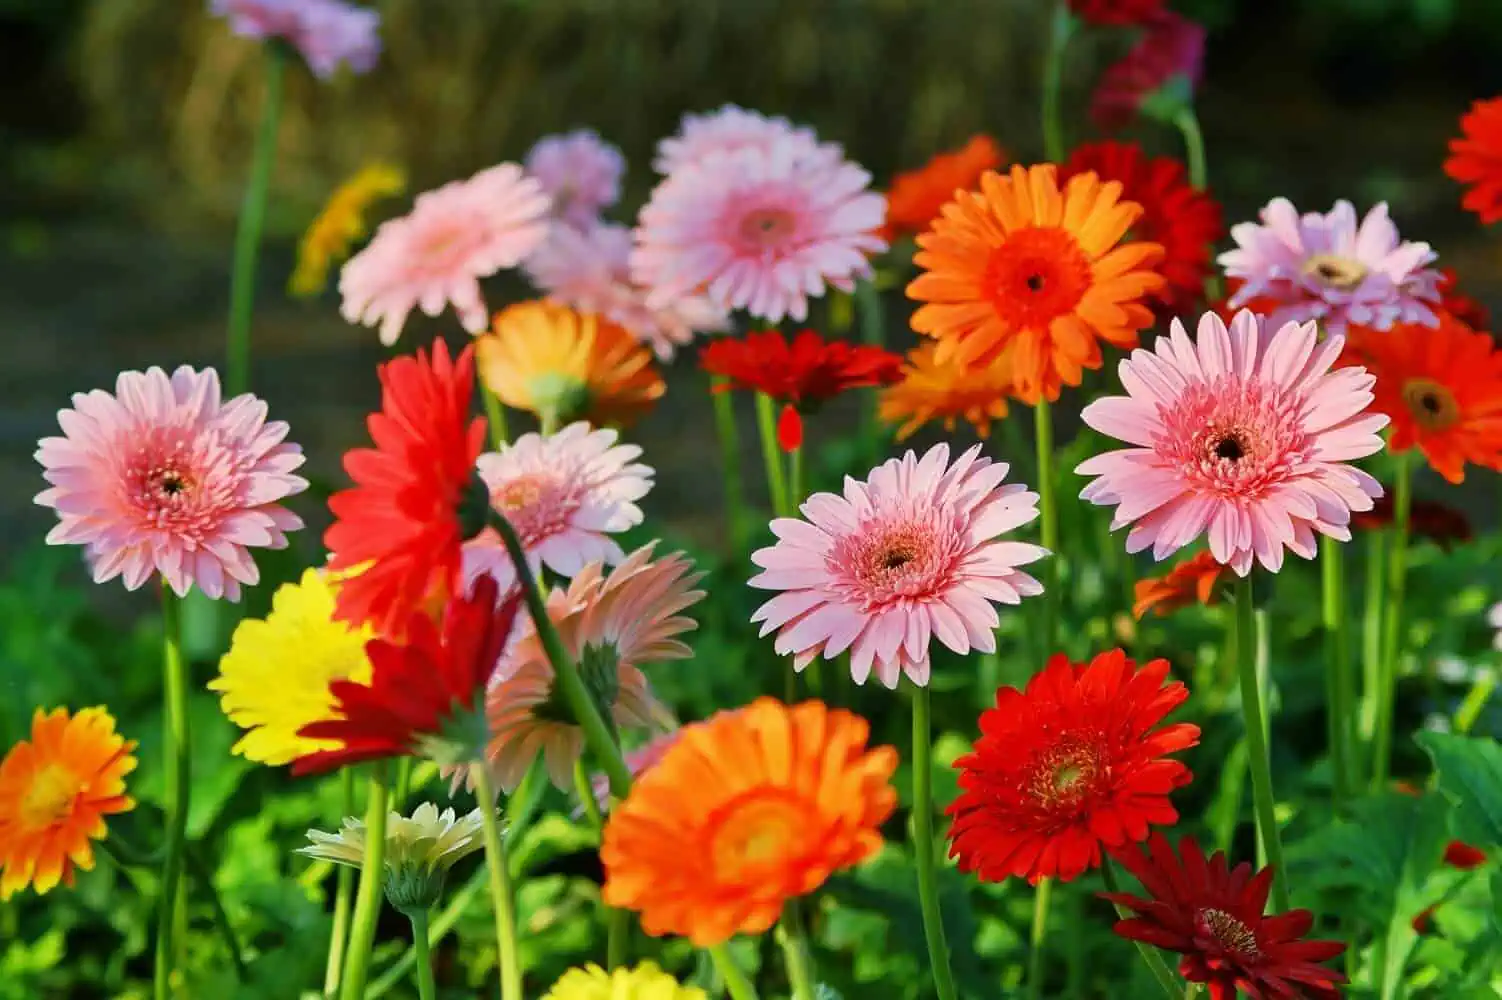
Gerbera daisies, also known as Transvaal daisy, are commonly used in bouquets as cut flowers, but in specific plant growing zones (8-11), you can grow them outside as perennials. In today's article, we're going to discuss several actionable tips for gerbera daisy care, growing, and postharvest handling.
Among other things, we'll discuss how you can induce vigorous re-blooming, water requirements, overwintering, pre and postharvest handling, and common gerbera problems.
Rest assured, this is an in-depth guide on gerbera daisy care online.
Let's begin:
Complete Gerbera Daisy Care Tips
1. Use appropriate soil/potting mix
Gerbera daisies prefer average to rich soils with medium moisture conditions. The soils must drain freely; otherwise, your plant could quickly develop root or stem rot. Consider planting your daisies in containers or raised planting beds if the soil doesn't have good drainage.
Additionally, amend your planting soils with a little organic matter to promote healthy growth and blooming. Add an inch or two of compost or peat moss to the soil before planting.
The gerbera daisies prefer soil pH ranging from 6.1 to 7.5 (neutral to slightly acidic). If your soil is more acidic (test soil PH using a digital soil pH meter), add a bit of dolomitic limestone as you follow the product's label's instructions.
Dolomitic limestone works by neutralizing acidity in the soil and enables your plants to efficiently absorb nutrients from the mix.
Lime also improves the soil texture and helps to convert other soil nutrients into usable forms.
Sometimes you may need to lime your garden even without the soil test results. In this case, it is generally safe to apply lime at a ratio of 250 mL (1 cup) for every 15 square meters (50 square feet) of the garden. Sprinkle the lime evenly over your dry garden and mix it as deep as possible using a rake.
2. Water gerbera daisy properly
Outdoor- grown gerbera daisies need deep watering once a week or whenever the top one inch of the soil begins to dry. Your daisies may need more frequent watering when first establishing them from seed and during hot, dry spells.
On the other hand, your indoor gerbera daisy plants typically require frequent watering every three to five days—water at the base leaving the leaves dry to avoid infections.
Make sure to empty the water that collects in their pot's drip tray after each watering session.
Pro Tip: Reduce the watering frequencies during winter, but don't allow the soil to dry completely.
3. Fertilizer application
For good performing and looking gerbera daisies, feed your plants with a controlled-release fertilizer two to three times during the growing season or use a liquid fertilizer every two weeks.
A complete fertilizer application once a month also works well for gerbera daisies.
Gerberas are prone to iron and manganese deficiencies, especially in potting soil\mix. Therefore, use a granular fertilizer or foliar fertilizer spray that contains the said micronutrients.
4. Trim or deadhead gerbera daisies to induce re-blooming
If you are wondering if your gerbera blooms continuously?
The answer is NO!
Gerberas bloom takes a break of about two weeks to refuel and then bloom again. The flowers stay in bloom for several weeks after they appear on the plant.
To encourage your gerbera to re-bloom, you first need to regularly deadhead the spent flower stalks off the plant using sterilized pruning shears.
And if your gerberas are in pots, trim the large center leaves to allow more light to reach the plant's center and stimulate new bud growth.
You can also remove some flowers for cut-flower arrangements. This way, your gerberas will have more energy for new flower bud development rather than flower maintenance.
As you do all this, keep the soil evenly moist and fertilize your blooming gerberas every two weeks with a water-soluble fertilizer that is low on phosphorus (such as the 24-8-16 formula).
Pro Tip: Gerbera daisies produce only one flower per stem, so trim the whole stem to leave your plants looking their best.
5. Gerbera daisy sun or shade?
Daisies need as much sunlight as possible, especially in cooler climates. Therefore, expose your gerbera plants to at least 6 hours of direct sunlight a day during the summer.
When the weather becomes hot and dry, we recommend that you expose your daisies to a light shade in the afternoon when the sun is intense.
6. Overwinter your gerbera daisies
As much challenging as it seems to over winterize a gerbera, believe me, the struggles you go through to keep it safe during winter will pay off.
Start winterizing your daisy several weeks in late September (before the first frost). To begin the winterizing process, dig up the plant from the garden and prune off the remaining flowers. Then, remove most of the soil from the root ball and cut back some of the roots (not the taproot).
Repot your daisy into a new pot with fresh potting mix and ensure to keep the plants' crown at the soil level (don't plant too deep in the soil).
For the first several weeks, place your daisy outside during the day in a shaded area and bring it in at night. Make sure that each day, the plant is left indoors for more extended periods.
As your daisy acclimates, ensure to water the plant well and allow the water to drain. Also, keep the temperature mild, around 60 to 70 degrees, and provide the gerbera with full sunlight, even if it means supplementing with artificial light.
Caution: Avoid overwatering and do not fertilize your daisy in winter
7. Use coffee grounds to help repel slugs
I would also call it "A Caffeine Fix for Snails and Slugs."
Coffee grounds are abrasive, so a barrier of grounds placed near your daisy plants may save them from slugs and snails.
Caffeine in large doses is toxic to slugs, and in smaller quantities, it can slow them down. Also, the mere smell of coffee deters slugs and snails.
The coffee grounds' ingredients stimulate mucus production in slugs, which deters their ability to crawl over.
Read more on 45 Proven Insect Repelling Plants with Insane Benefits
8. Handle them properly once harvested to boost vase life
Gerbera daisy cut flowers can last two weeks or longer without wilting if you prepare them properly to prevent wilting and keep the stems firm.
First and foremost, hold the cut end of the gerbera stems underwater. Then prepare the solution to keep in your cut flowers by adding a packet of cut flower food to 1 quart of 90 degrees Fahrenheit tap water in a clean container.
Alternatively, use two tablespoons of lemon juice, one tablespoon of sugar, and 1/4 teaspoon of bleach instead of the flower food in the quart of water. Then fill a wide-bottomed vase to an inch or 2inch depth with the solution.
Using a clean knife, cut off the bottom 1/2 inch of the stem at a 45-degree angle and place the flowers in a vase containing the flower food solution.
Ensure that the solution only covers about 1 inch of the stems; otherwise, the gerbera stems may become soft and weak if fully submerged.
After that, set the vase in a cool room overnight to condition the fresh cut flowers. Once the flowers have conditioned, please place them in an area with bright but indirect light and avoid areas with high heat or freezing temperatures, such as near drafty windows or air vents.
Replace the water in the vase every two days and maintain the water depth, so the cut end of the stems remains submerged. If the stems' bottoms become spongy or the flowers begin to wilt prematurely, recut the stems to improve water uptake.
9. Common gerbera daisy problems
Gerbera daisy wilting or plants dying
Too little or too much water is a common cause of drooping or wilting in gerbera daisies. Your gerbera plants need proper watering once early in the day to soak the soil.
Ensure that the plants and the soil surface dry off before night to reduce the chance of diseases like root rot.
You also need to carry out regular soil tests for any infections and take the necessary measures. In addition to this, feed your gerbera daisies with a slow-release fertilizer to improve their health.
Gerbera daisy leaves turning yellow
Yellow leaves in your gerbera daisies can result from a lack of enough nitrogen in the soil. Feed your gerbera daisies twice-yearly with an organic fertilizer high in nitrogen.
Fertilize in the spring and fall, following the instructions on the leaflet.
In gerbera daisies, magnesium deficiency causes the older leaves to turn yellow around the edges, leaving arrow-shaped green centers.
Just like nitrogen deficiency, you can manage magnesium deficiency by applying Epsom solution (an ounce of Epsom salts mixed with 5 gallons of water) to your gerberas each week.
All plants require iron to produce chlorophyll (the green pigment in leaves), and unavailability of iron to your gerbera daisies primarily due to soil PH above 6.2 leads to gradual yellowing of young plant leaves without changing the green veins.
To manage iron deficiency, spray the gerbera foliage with chelated iron and switch to a more acidic fertilizer, such as a 20-10-20.
If your gerberas have been infected by a root fungus, their roots decay, leading to wilted, yellow leaves that fall of the plant. Dig up the entire daisy and examine its roots. If you see missing feeder roots or evidence of rot in the primary root could indicate overwatering or poor drainage.
Pro Tip: It is crucial to first clearly know the cause of yellow leaves on your daisies before taking any measure.
Daisy leaves turning brown
Daisy leaves turn brown, mainly due to improper watering. Over-watering your gerberas leads to poor soil aeration, which prevents oxygen from reaching the roots resulting in brown gerbera leaves and flowers.
Therefore, allow your soil to dry between watering.
Powdery mildew also can cause the leaves of your daisy to turn yellowish-brown, dark brown, or black. Gerbera daisies require good air circulation, so you should avoid overcrowding when planting them.
Treat powdery mildew in your gerberas using a fungicide as you follow the manufacturer's package instructions.
Brown specks form on florets and the leaves are also caused by Alternaria leafspot. To control Alternaria leaf spot in gerbera daisy, always keep the soil moist, but never soaked.
Gerbera daisy drooping
Nutrient stress in gerbera daisy makes it droop. Increase the sun exposure for your indoor gerbera daisies by either moving them outside for a few hours each day or putting them near a sunnier window as you improve the watering conditions.
Too much or too little water is a common cause of your gerbera daisy drooping.
Gerbera daisy leaves curling
Calcium deficiency in gerberas causes blossom end rot and distorted new leaf growth. Apply calcium nitrate to the gerbera repeatedly in small doses until you begin to see improvement in the plant's condition.
Also, test your soil to confirm that the pH is always above 5.5. Lower pH often causes calcium and magnesium to be bound in the soil; thus, your gerbera does not get as much of these micronutrients leading to leaf curl.
Powdery mildew also makes your gerbera leaves curl.
Gerbera pests and diseases
Powdery mildew
A fungal pathogen, namely, Golovinomyces cichoracearum, causes powdery mildew of the leaves. Powdery mildew in gerbera daisy usually appears as white fungal growth on the surface of leaves.
To control powdery mildew in your daisy, give the plants enough space plants for good air circulation and light penetration. And if you grow your daisies in a greenhouse, heat the greenhouse at night and venting around sunset to reduce humidity.
In addition to that, carry out regular scouting for symptoms and signs of the disease and remove\ rogue infected plants or plant parts.
Alternatively, dilute a myclobutanil-rich fungicide with the manufacturer's recommended amount of water and apply it to your gerbera daisy using a hand sprayer. Do this for 7 to 10 days until you see changes.
Rhizoctonia Crown Rot
Rhizoctonia crown rot in gerberas is caused by Rhizoctonia solani. This disease is characterized by brown lesions on the stems at the soil level. The infected plants wilt and die as the infection progresses.
To control this disease, plant your gerbera daisy in pasteurized planting media and apply a fungicide to protect plants.
Pythium Root Rot
Pythium spp causes Pythium root rot. Your daisies wilt and die as roots rot. Control Pythium root rot in your daises the same way you control Rhizoctonia crown rot.
Alternaria leaf spot
Alternaria leaf spot in gerbera daisy is caused by Alternaria spp. This disease is characterized by brown specks on florets and the leaves.
Treat Alternaria leaf spot by spraying a fungicide directly on infected plants, improving sanitation, and practicing crop rotation to prevent future outbreaks. You can also control Alternaria leaf spot organically using sprays of captan or copper fungicides.
Bacterial Leaf Spot
The disease is caused by Pseudomonas cichorii. At first, the leaves have small to large circular spots. With time, these spots become irregular and dark brown to black. Sometimes they may also have a concentric ring pattern.
To control bacterial leaf spot, maintain low relative humidity, and avoid overhead watering.
Viral infections
Viral infection in gerbera daisies is characterized by molted leaves with yellow spots, dead flecks, line or ring spot patterns. The plants may also be distorted or have flower color breaking.
Manage viral infections in your daisies by maintaining good insect and mite control. Also, plant your gerberas in pasteurized growing media and make sure that you destroy the infected plants.
Read more on How to Get Rid of Aphids Permanently (Easily and Naturally)
Conclusion
There you have it!
We've covered quite a big deal on gerbera daisy care and postharvest handling. I feel it is important we go over the most critical points as a summary once more.
Here's a recap:
- Use an appropriate potting mix
- Watch out for pest and diseases
- Overwinter your gerbera daisies
- Watering properly where necessary
- Use coffee grounds to repel the slugs
- Deadhead to induce vigorous re-blooming
- Expose your gerbera plants to the right amount of sunlight
- Handle gerbera properly once harvested to boost their vase life
- Watch out for common gerbera problems and take corrective measures
I hope you've found this article enlightening, in which case, feel free to share with your friends. Thanks for reading all the way, and let me know your thoughts in the comments!
Resources
Gardening solutions
Nature & Garden
Sprigs and Twigs

Re: cut flowers (daisies).
After letting daisies sit in solution overnight, do I need to “fill” the vase with water or are they to stay in the 1″ solution?
My Gerbera daisy plant in a pot was v. dry so I watered it and the leaves perked up, as did the flowers. I set it
in a sunny spot, but the flowers began to droop, so I changed it to a less sunny one. Now the flowers are still
drooping. It hurts me to look at it. How can I make it happy again? Thank you for your advice in advance.