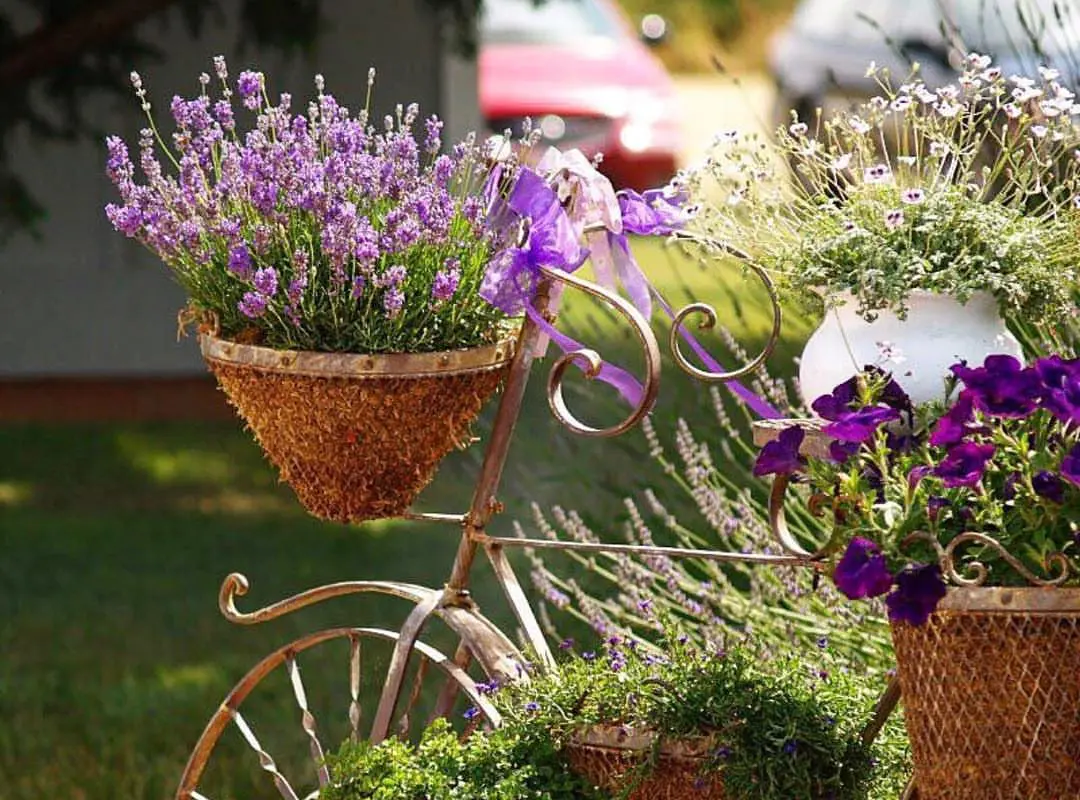
For years, many gardeners have grown lavender as one of their most popular herbs. This is due to its fragrance, leaf color, medicinal value, beautiful flowers, and hardy characteristics.
It's no surprise that growing lavender in pots has gained popularity in recent years.
Like mints, lavender belongs to the Lamiaceae family and can be described as a semi-woody perennial sub-shrub.
This beautiful herb has the amazing potential to stay evergreen throughout the year, depending on weather conditions and the location.
Lavender is cultivated as an ornamental plant, and its fresh flowers can be used to flavor sauces and desserts.
This plant is used as an herb in cooking to produce lavender sugar and extract essential oil. Its dried flowers are used in flower arrangements and beautification.
Urban gardeners with small allotment space can enjoy these benefits by planting lavender in pots.
Let's find out how:
How to select the best lavender variety for growing in pots
Finding the right lavender plant for your pots is not an easy task, but it can be done with the necessary knowledge.
For instance, dwarf cultivars have been known to do well in pots. So, if you want to grow lavender successfully, especially in pots, be sure to choose dwarf varieties/ cultivars.
Learn the comparison between English and the French lavender
After you’ve selected the ideal lavender variety, let’s find out how to plant them:
The Best Soil for Lavender in Pots
Lavender performs well in alkaline, with little organic matter and well-drained soil.
However, with time, the soil becomes compact, leading to poor drainage, which will, in turn, cause many problems later on.
To avoid this, do not fill your containers with soil from your garden or bagged topsoil.
You can save yourself the trouble associated with soil-based media by using a recommended "soil-less" blend that will retain moisture and resist compaction. Organic potting soil is a suitable alternative.
Most commercial potting mixes have a balanced, slow-release, and regular nutrient supply, so your lavender remains strong and healthy throughout the season.
Growing lavender in pots step by step

Step 1: Select the appropriate type and size of growing pot. Be sure to determine the mature diameter of the lavender and choose an appropriate container. Lavender is shallow-rooted, so the pot does not need to be tall. A lavender pot size of 12 to 16 inches is ideal since the plant can grow quite huge and bushy.
Step 2: Check the pot’s drainage hole, which should be at the bottom.
Step 3: Fill the pot with well-draining soil or organic potting mix at almost the ¾ mark of the pot.
Step 4: Place the lavender in the pot, ensuring that the crown is placed slightly above the potting mix. (Approximately 2 cm)
Step 5: Using the remaining potting mix, fill the pot up to a few centimeters to the top.
Step 6: Firm the mix to remove any air pockets and water lightly
Step 7: Use a thin layer of mulch for moisture retention. Follow the next steps to ensure your potted indoor or outdoor lavender thrives rather than survive.
How to Care for Lavender Plants in Pots
How often to water lavender in pots?
As a rule of thumb, water your lavender plant when the soil feels dry rather than following a watering schedule.
Start watering when the soil is dry to the touch and drench so that water flows freely out the bottom of pots.
As a guideline, deep water every 7–10 days for the first two years, and as your lavender continues to develop, watering will be required if there is a drought.
Pro Tip: Lavender is drought-resistant, so take caution not to overwater, as this may lead to root rot.
Learn how to water your potted plants and keep them healthy.
Expose your lavender to as much sunlight as possible
Lavender requires up to six hours of direct sunlight per day (full sun).
These hours can either be continuous or broken. The more hours your lavender receives light, the better it is for its enhanced blooming and oil production.
To maximize the exposure, move your plants around during the day and prune back any trees surrounding your landscape.
You can also use a bright/ white colored mulching material, e.g., straw, to reflect sunlight up to your lavender.
Apply mulch to conserve moisture
Apply light mulch up to the plant crown for moisture retention as well as to suppress weeds.
Getting a bright white-colored mulch is good for rapid growth and air circulation, so your plants dry out fast after watering or rain.
Several types of such mulches are available, including turkey grit, shells or gravel, and straw, all at a reasonable cost.
Remove the weeds regularly
Remove any weed or creeping ground cover regularly to avoid competition for nutrients. Here's a list of the best weed killers for most gardens.
Regular weeding also allows good air circulation, hence better crop performance.
Apply an appropriate fertilizer
Feed your lavender every week with a balanced water-soluble slow-release fertilizer alternatively, you can use fish meal emulsion or compost tea.
Some gardeners use alfalfa pellets (slow-release organic food with triacontanol - a growth stimulant) and do work well too.
Fertilizing lavender too much can hurt it. Don’t over-fertilize lavender, as this will only cause harm rather than good to it.
Avoid fertilizer application during the fall because this will make the plant produce tender new growth that will die in the winter.
Tip: Make sure to read the instructions on the fertilizer label before anything else.
Renew your lavender by pruning
Remove all bud shoots as soon as the little green buds start to form in the first growing season of a newly planted lavender plant.
This helps your lavender have a vigorous vegetative cycle, which encourages a larger, hardy, and strong plant ready to survive the first winter.
Another reason to remove all bud shoots during the first growing season is that you will enjoy more yield during the second and third years.
You can prune during any season but it’s advisable to do so only during the harvesting of lavender bundles to avoid losing valuable buds.
It also reduces the number of times you need to prune your lavender.
Early spring (March through May) is the best time to prune by removing any dead branches all the way down to the plants' bottom.
Early spring pruning encourages vegetative growth especially when followed by nitrogen application.
In case of a harsh winter season, prune the entire lavender bush down to the bare woody hedge. After heavy pruning, the plant is likely to be stressed; make sure you do the following;
- Keep it well watered
- Fertilize with a nitrogen-rich fertilizer
- Keep a close watch for pests or signs of disease
Once you do this, your Lavender plants will be back stronger and healthier and give you a few more years of enjoyment.
How to harvest mature lavender
Harvesting lavender is best done early in the morning as the blossoms will retain most of the perfume oils when dried, and its fragrance is the strongest then.
Cut the stems slightly above the first set of leaves when the lowest blossom opens, as the color will be more vivid when dried.
The more you cut blooming stems, the more the growth, and the plants can flower up to three times during the summer.
Tie the harvested lavender in bundles and hang them upside down in a warm, dark place to dry.
Common Pests and Diseases
Lavenders are not easily affected by diseases, but fungal infections may occur due to cold, wet soils.
If your plant shows symptoms like yellow, wilting, or dying leaves and discolored root tissue, there is a high chance that your lavender has root rot.
This disease is caused by overwatering plants, and it can be managed by reducing the number of times the crop is watered.
Although lavender can tolerate most pests, it isn’t completely invulnerable to them. Whiteflies, for example, are very attracted to lavender plants.
They feed on sap from the underside of the leaves, and although they may not kill your plant, they usually cause unattractive damage to your crop.
You can control white flies by hand removal or by use of a strong stream water spray, especially for adult white flies.
The use of reflective mulch or aluminum foil is effective in repelling white flies.
Conclusion
You’ve just read how to grow your lavender in pots. Therefore, if you have to forget everything in this article, please keep in mind the following takeaway points;
- The growing media should be well-drained, low- fertility.
- Lavender thrives well under full sun (6 hours and more).
- Pruning should be done annually.
- Always use light-reflecting mulch (brightly colored)
- Harvest by cutting lavender stems when the lowest blossom opens.
With these tips, growing lavender in pots has never been this easy.
Back to you – have I left out any important information? Let me know in the comments.
Editor's Note: This post was originally published on August 16, 2020, and has been revamped and updated for accuracy, grammar, and comprehensiveness.
I live in Pennsylvania. Should I take the potted lavender indoors over the winter? I just planted it this year, it has nice growth, but still very young.
Can a lavender tree live in a pot? I just bought one that is in a 8-10″ pot. Can it stay in that, does it need a bigger pot, or should I plant it in the yard?
Hello Marsha, yes lavender will not only survive in pots but thrive it will. You just need to check the roots after a while. If it’s root bound, you should repot in a bigger pot!
I have failed often trying to grow Lavender and mint here in Southwest Florida. It seems to get too hot for the plants during the summer (90’s) daily, even when I place them in the shade. Should I bring them inside and put under grow lights? Would I keep the lights on 6 hours daily or longer. Any tips are welcome! Thank you. Great article!