Contrary to popular perception, planting poppies in gardens isn’t illegal in most countries. However, it’s illegal to extract opium from the poppies especially some specific species. For example, while it’s legal to grow Opium poppies (Papaver somniferum) in the United States for garden and seed production purposes; it is illegal to manufacture opium from the species.
I needed to get that out of the way. And, to assure you that all the poppy species we’re going to mention are safe to plant in your garden, especially if it isn’t on a large scale. Sounds assuring enough?
Alrighty, let’s get going:
Poppies are used in numerous ways. For instance, commemorating heroes, brightening landscapes, attracting pollinators, and flavors different cuisines. Whether you plant them to brighten your garden or to adorn your home-baked bread, it’s always a good idea to plant some poppies.
In this article, I’ll share some actionable tips to keep in mind before planting poppies from seed in pots.
Let’s dive right in.
What Are Poppies and Which Species Are Safe to Plant?
Poppies, genus Papaver, are tall hardy annual, biennial, or short-lived perennial plants. One species of poppy, Papaver somniferum, is the source of the narcotic drug opium which contains powerful medicinal alkaloids such as morphine.
This is the main reason why growing poppies is quite a controversial subject and the laws are not very clear on the matter. If in doubt, always check with your local authority.
Most poppies are found in the Northern Hemisphere, and several species of poppies are cultivated as garden ornamentals. About 50 other species of Papaver are grown for their attractive flowers or interestingly cut foliage. Here’s more information about these beautiful flowering plants.
The common Poppy Types
Papaver somniferum – Opium poppy (recommended varieties include; Bread seed popy, Elaka poppy, Hungarian bread seed, Heirloom pepperbox, and Ziar poppy). To be on the safe side, check with your local authority before growing this specific poppy type.
Papaver commutatum - Caucasus poppy
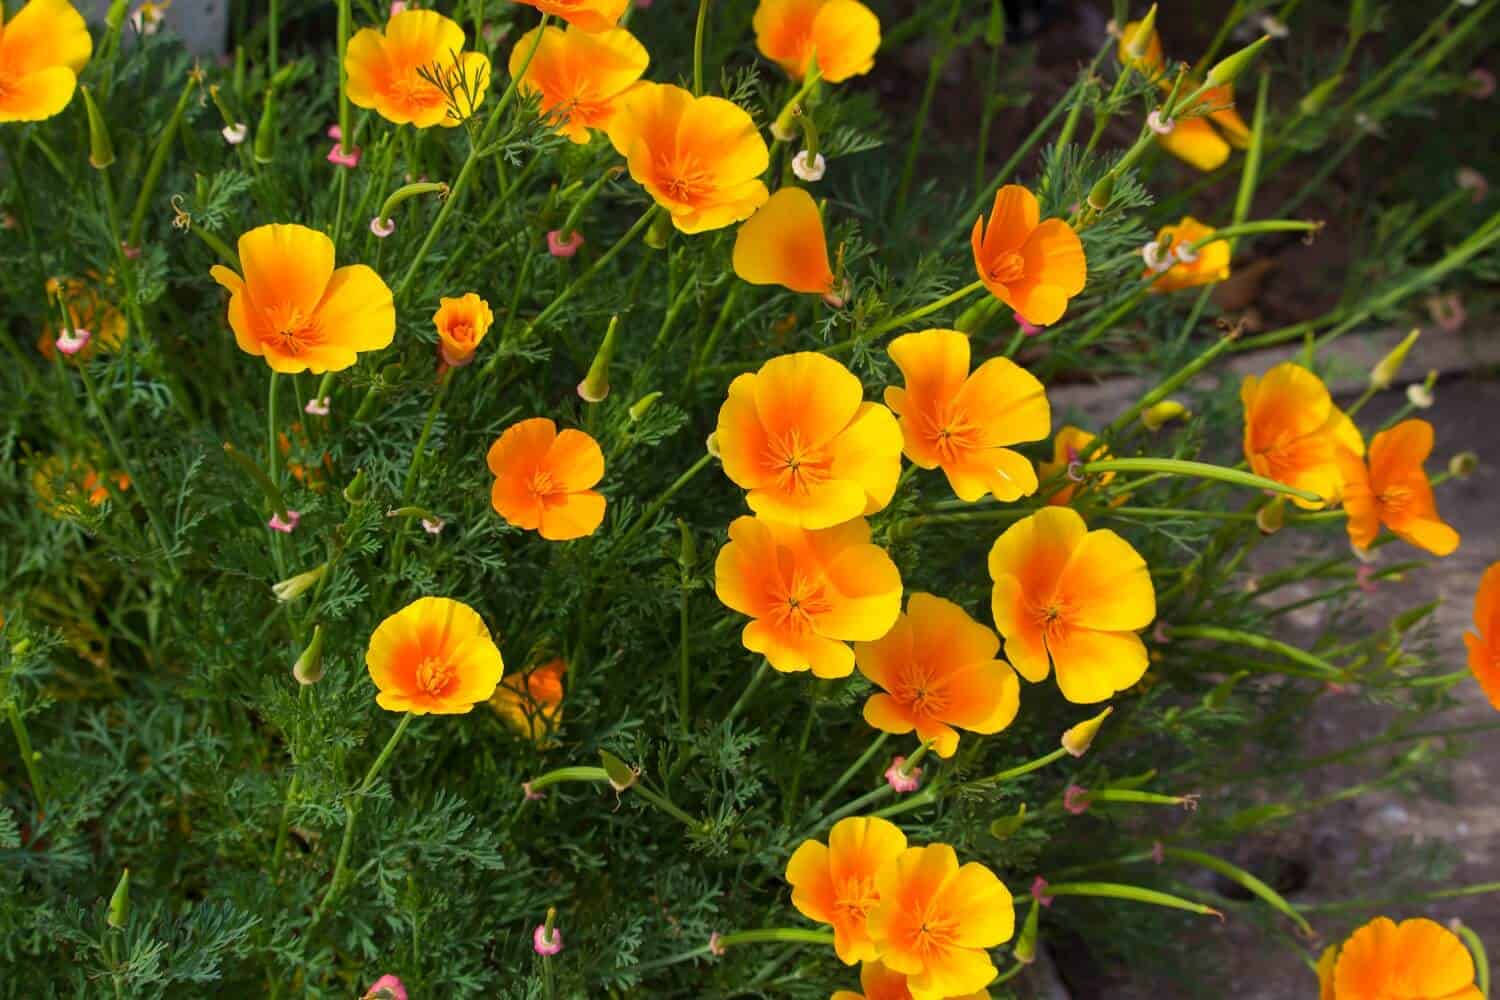
Papaver eschscholtzia - California poppy
Papaver nudicaule - Iceland poppy
Papaver orientale - Oriental poppy
Papaver rhoes - Shirley poppy (double-flowered)
Planting Poppies from Seed Step by Step in Pots
")
1. Potting soil, preparation, and location
Poppies grow well in fertile, porous, and well-draining soil. But since we’re discussing how to grow poppies in pots, most commercial potting soil comes pre-mixed with the right properties. I recommend Black Gold Organic Potting Soil since it’s enriched with organic fertilizer, worm castings, perlite, and pumice.
If you choose to use a different potting soil, make sure it’s porous enough to allow the excess water to pass through. Prepare the soil by working a mild fertilizer into the soil together with compost.
Place the pot with the potting soil where there’s bright sunlight.
2. Sowing the poppy seeds
You can sow the poppy seeds directly into their final growing pots, or start them before transplanting.
If you choose the latter, keep in mind that poppies do not transplant well. Therefore, sow in flats 4–5 weeks before the last frost and be careful not to damage their roots when transplanting seedlings from trays to their final growing pots or garden.
Since the poppy seeds are extremely small, you need to mix with fine sand and broadcast as a mixture. This will prevent over-seeding and guarantee uniform distribution.
For germination to take place, the seeds will need light. Therefore, cover the seeds lightly with no more than 1/8 inch of soil. Exposure to freezing and thawing conditions will also hasten the germination process. Therefore, sow seeds either in late fall or very early spring.
Make sure the soil and the seeds remain moist until plants begin to emerge.
Since seeds germinate slowly requiring 4 weeks to emerge in cool weather and 2 weeks if the weather is warmer, you need to start sowing as early as possible.
3. Thinning the seedlings
To make sure only the strong plants survive, thin out the weak seedlings from the seeding flats. You need to this before plants are 6 inches tall with a final spacing of 6 to 8 inches. You can avoid thinning by using transplants in place of direct seeding.
Thin early, but delay final thinning until milder spring weather when plants are 6 inches tall. Remember, thinning is essential whether you’re going to plant your poppies in pots or outside in the garden.
4. Planting poppies in pots
This is the part where you need to transplant your seedlings from their nursery to pots or gardens. As already mentioned, poppies do not transplant well because of their long taproot. You need to dig them carefully when they are still small, taking a full spade of soil to protect their roots.
Grow the transplants when the temperature is at 60°F and plant out around the last frost date for your area. You don’t need to worry since seedlings are cold hardy and plants form larger blossoms and seed heads when you grow them in cool weather.
Alternatively, you can plant your poppies in pots directly from seed thereby avoiding the transplanting hassle.
5. Watering practices
As soon as you finish sowing or transplanting your seedlings, you need to keep the seed flats moist until seedlings emerge or the transplants are properly established. You are free to use any watering methods as long as the seeds are not washed away before they germinate and become stronger.
In most cases, low-pressure watering is preferred.
After final thinning or seedling establishes, you need to water the poppies every other day or depending on prevailing weather conditions. Take care not overwater. Instead, check the soil and only water when the top inch of the soil is dry before watering again.
Here’s a great guide on watering potted plants.
6. Fertilizer application
Poppies are one of those few plants that thrive when well fertilized. Therefore, in addition to the fertilizers, you applied when preparing the potting soil, seed yield increases when you fertilize the plants with additional 21-0-0 nitrogen fertilizer.
You may need to side-dress poppy plants with 0.5 to 1.0 tablespoons of 21-0-0 after thinning. Repeat this application before flowering begins to maintain vigorous growth.
7. Deadhead regularly to prolong the blooms
Should you deadhead your poppies?
The answer comes to things. Do you want the blooms or the seeds or both? If your goal for planting poppies is to prolong the flowering period, then you may need to deadhead regularly as opposed to if you just need the seeds.
Furthermore, most poppies self-sow lavishly and so, you should deadhead the seedpods to keep plants flowering and to control their spread. You can allow some late flowers to set seed for next year. Also, poppies will bloom more profusely and for a longer period if you remove old flowers when they drop their petals.
8. Pest and disease management
Poppies are prone to few insect and disease problems. Thus, it’s possible to get a bounty harvest without worrying about pest and disease management. All the same, you need to watch out for pests like black bean aphids which attack poppies buds just before flowering.
You can use insecticidal soap to control them or if you need more measures, refer to this guide on how to get rid of aphids permanently and naturally. Another common pest especially when the seedlings are young and under moist conditions is slug infestation which you can easily control using traps.
Diseases to watch out for include downy and powdery mildew, viruses transmitted by aphids, and root rot caused by overwatering. Make sure you take action at the earliest notice of abnormalities and get rid of any presence of weeds.
9. Harvest the Seed for Future Plantings
Supposing you follow everything in this guide about planting poppies to the T, each plant will produce thousands of seeds, depending on the number of pods produced per plant.
You should begin harvesting when the weather is dry and after the seed pods have become leathery and the seeds rattle inside the pods. If your poppy seeds are fully ripe and the weather is wet, you can harvest seed heads and hang them indoors upside down inside a paper bag to dry them out completely.
Repeat every six or eight days until the entire crop is fully harvested.
10. Seed storage
Harvested seeds maintain their flavor and quality for culinary purposes for quite a while. However, seed viability is lost quickly. Remember to store the seeds in a cool, dry, and dark place.
If you, intent to re-plant the seeds, don’t store them for more than one year otherwise the viability will drop thus affecting germination.
11. Caring for your poppies plants after harvesting the seeds
Once you’ve enjoyed the vibrant poppy blooms and harvested the seeds, in most species that’s the end of it. You need to start the process all over again. But there are a few things you can still do. For instance, you can cut them back to the container level.
Water them regularly and apply a mild fertilizer. If you’re lucky, you’ll get fresh new foliage and even some new blooms. For outdoor poppies, the fallen seeds will sprout and start all over again.
Conclusion
In this guide, I shared eleven tips for planting poppies from seed indoors. Start by building your poppies garden on solid foundations. That means selecting a good location with bright light and well-draining potting soil. I recommend you use Black Gold Organic Potting Soil.
Once you’ve planted your poppy seeds, make sure you water them properly and apply a mild fertilizer. If you’re growing the poppies for their beautiful flowers, deadhead them regularly to prolong the blooms. However, deadheading may not be necessary if you want to harvest the seeds.
Finally, monitor and manage pests and diseases to optimize the growing vigor and yield. I hope that you found the information I shared useful — best of luck with your gardening endeavors.